Application Audio Capture Guide
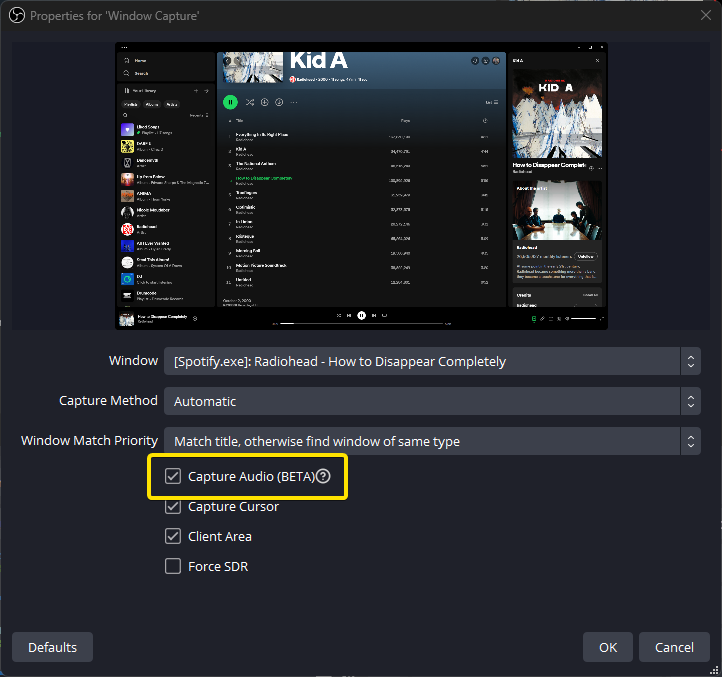
As of OBS Studio 28, per-application audio sources are available for users running Windows 10 (Version 2004 or later) and Windows 11. These Application Audio Capture (BETA) sources allow you to add each application you would like to capture as its own audio source. With the release of OBS Studio 30.1, you are able to include audio with a Window Capture or Game Capture source.
Having separate audio sources can be useful when you want to stream to Twitch and have a separate VOD audio track. This is also useful when splitting your audio into multiple tracks while recording. For more information about these different use-cases, see the Related Articles on the side of this page.
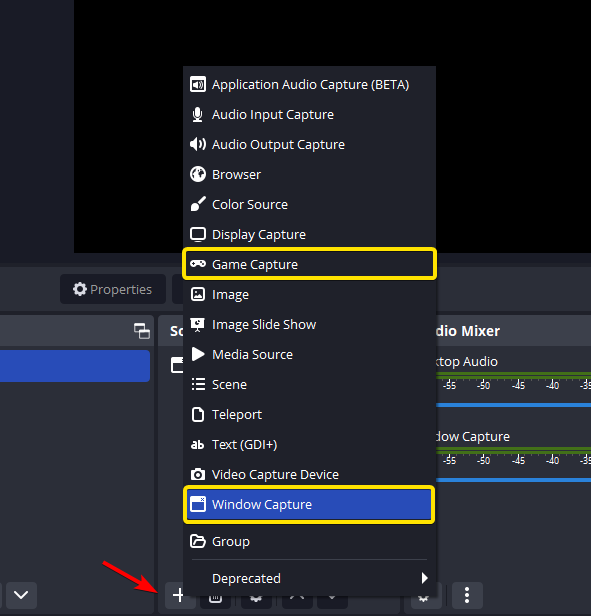
Include Audio With Game/Window Capture
|
|
|
|
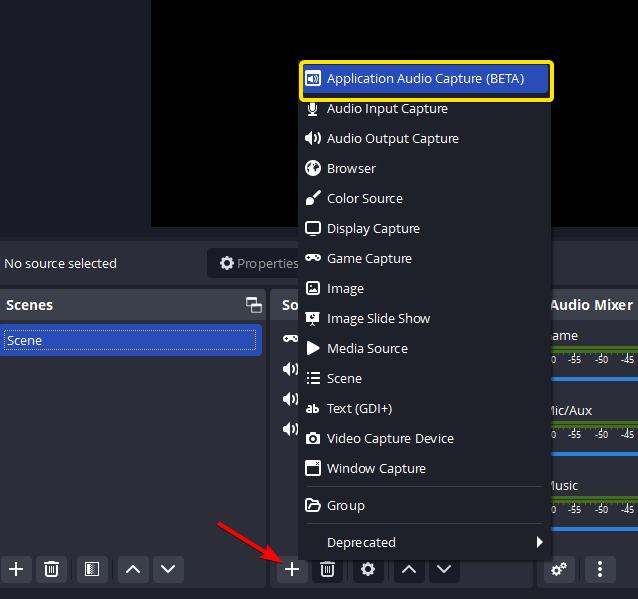
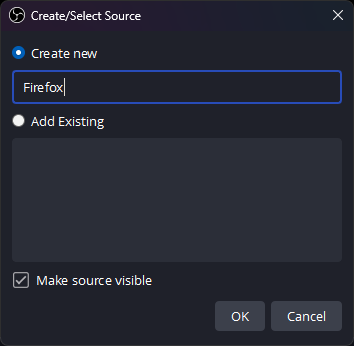
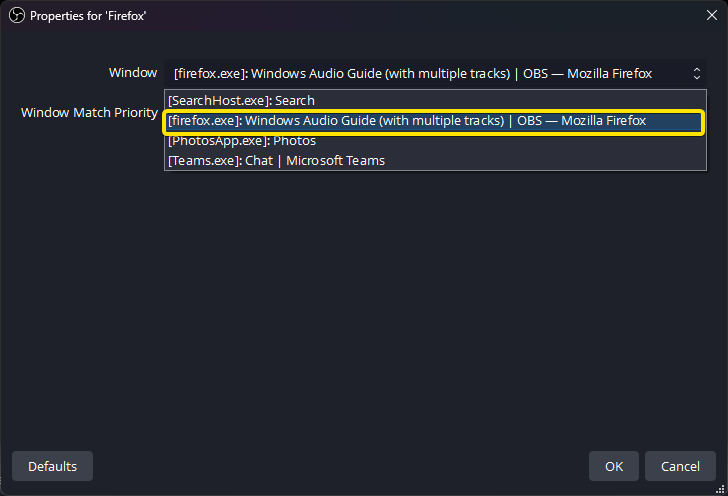
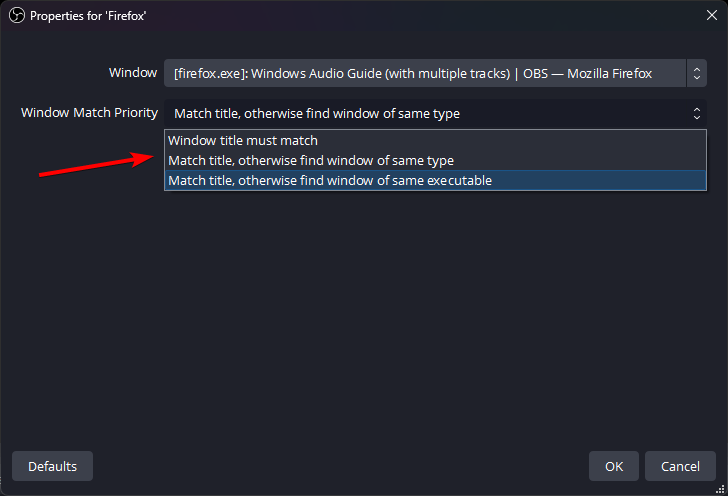
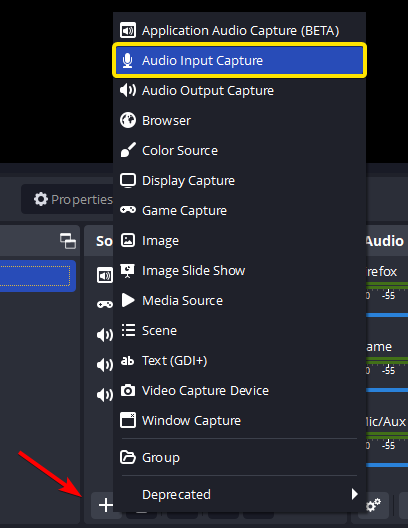
Application Audio Capture Sources
|
|
|
|
|
|
|
|
|
|
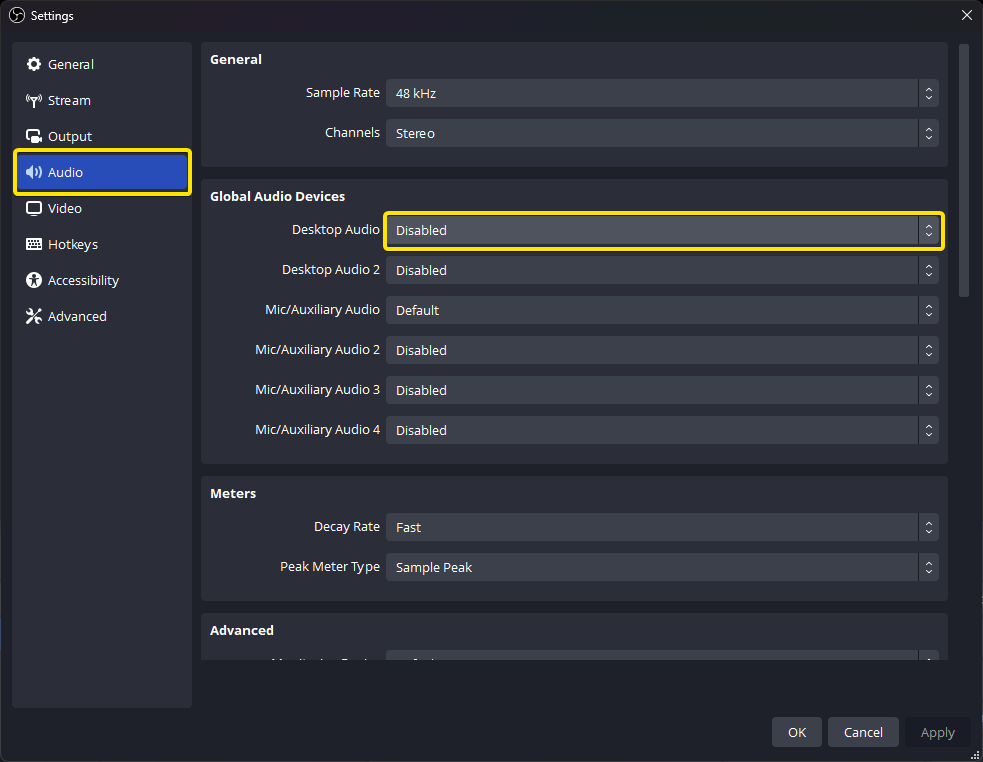
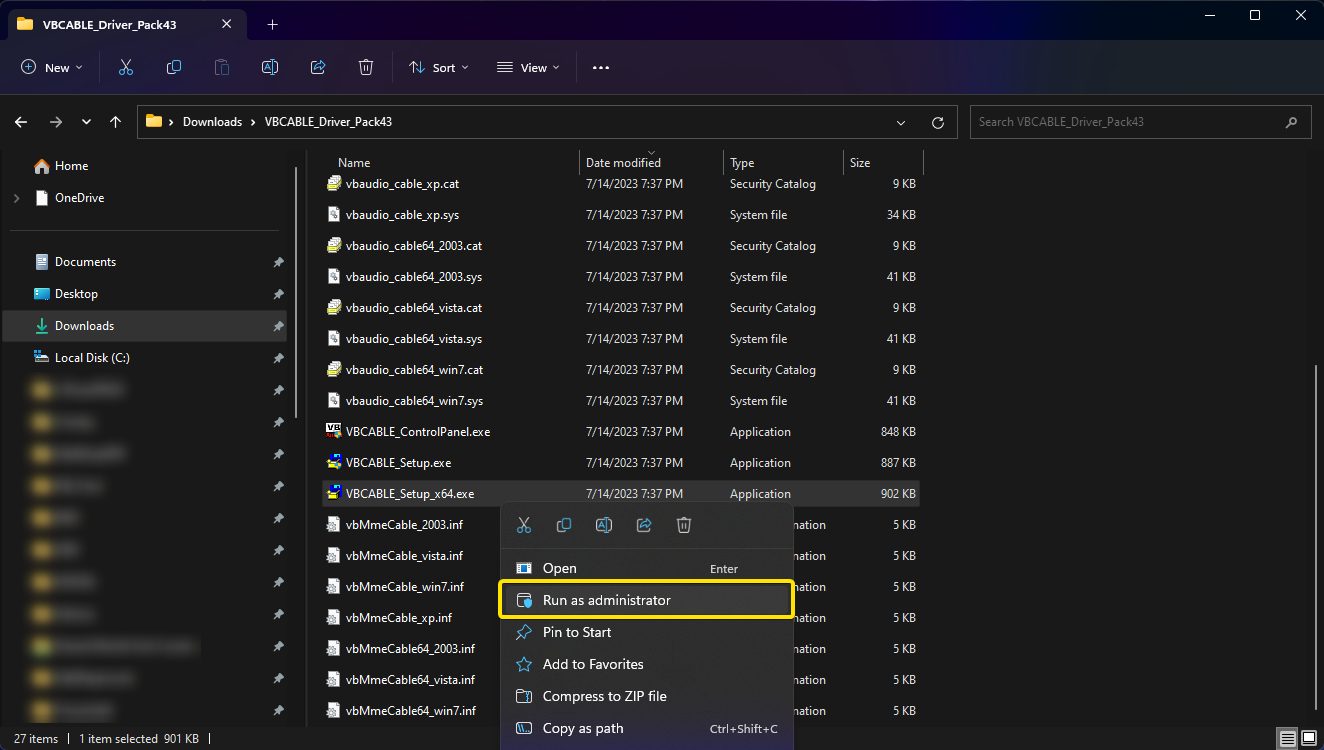
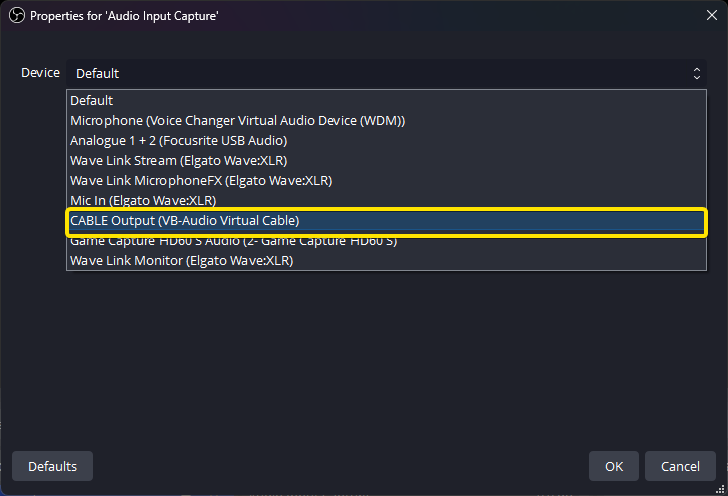
Virtual Audio Cables
Due to how some applications output some of their audio, it may be incompatible with the Application Audio Capture (BETA) source. For these applications, there are separate steps required to isolate the missing audio as it's own source in OBS Studio. You may also assign any application to output through a virtual cable in the Windows Volume Mixer.
|

|
|
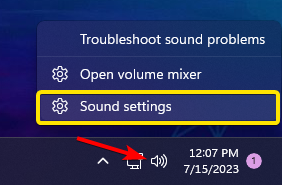
|
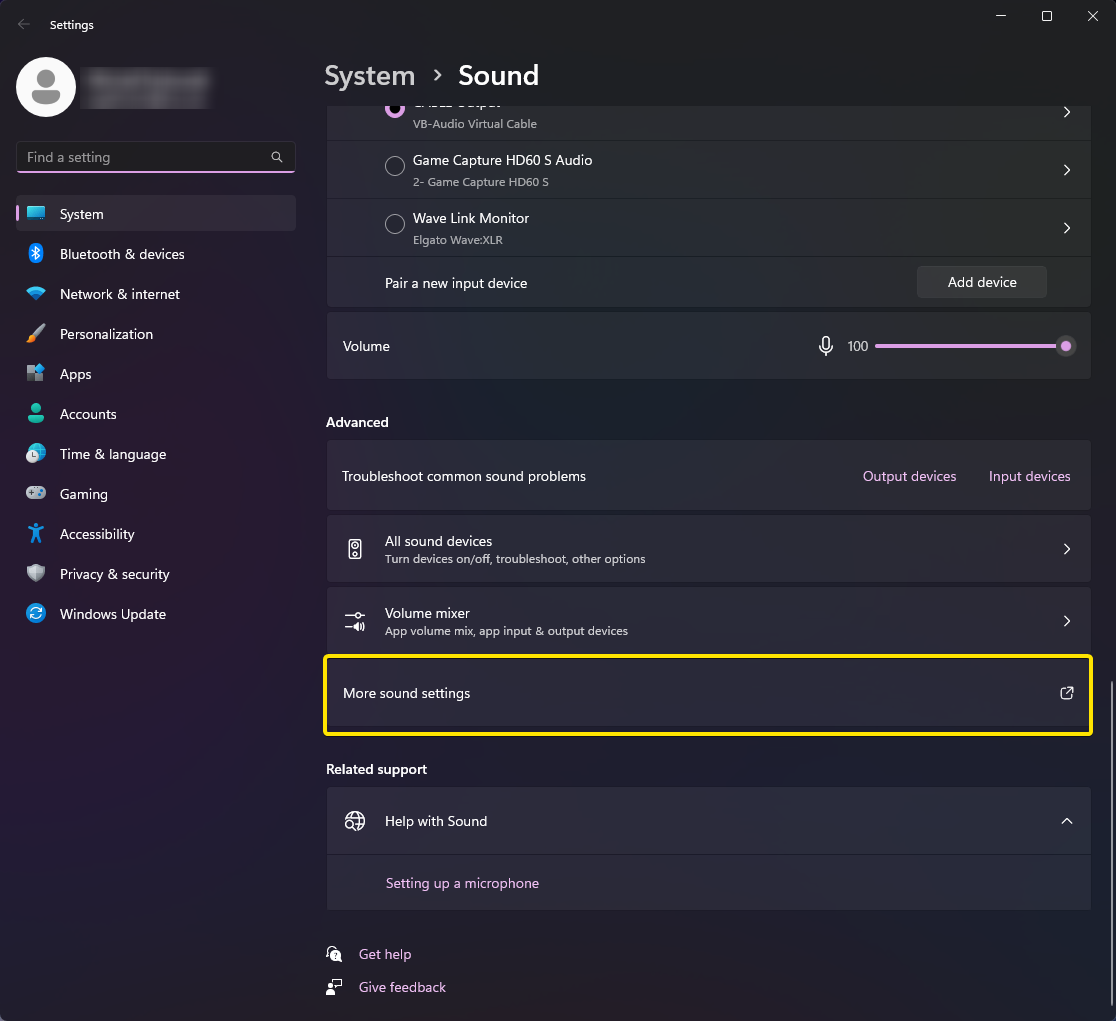
2a. Scroll down to the bottom of the window that opens up and select the More sound settings button
|
|
|
|
|
|
|
|
|
|
|
Valorant 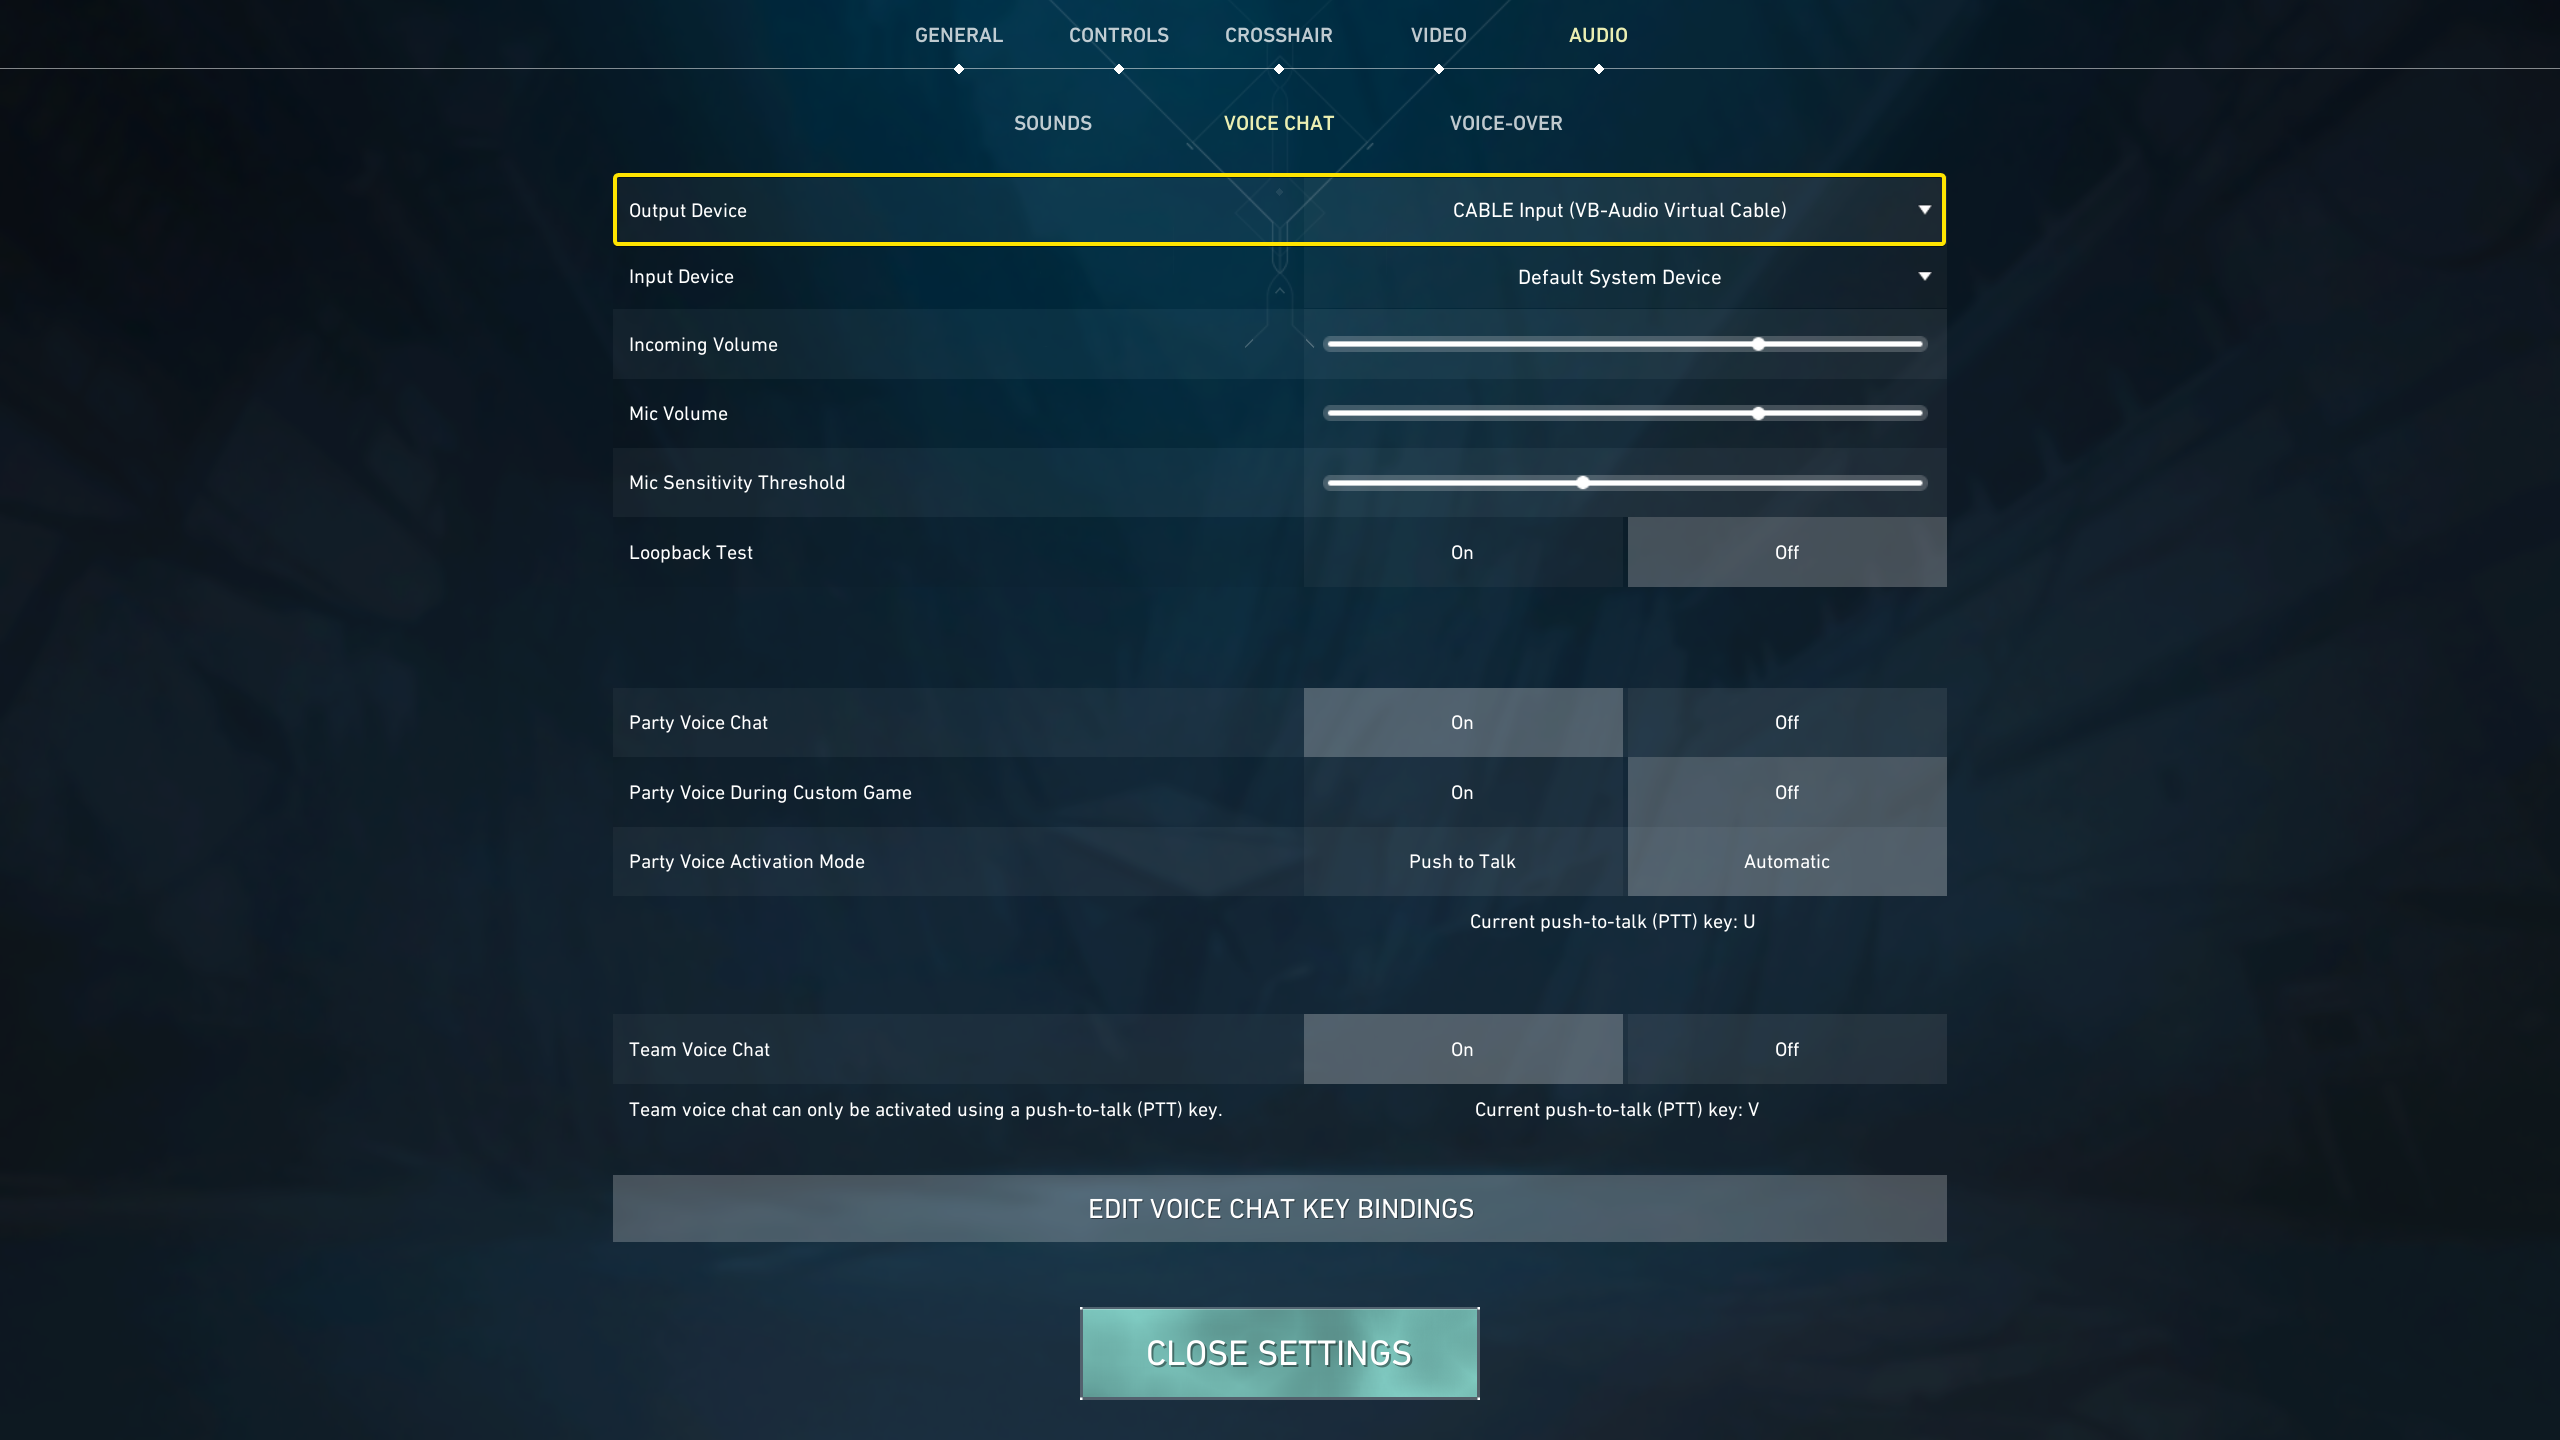
Call of Duty 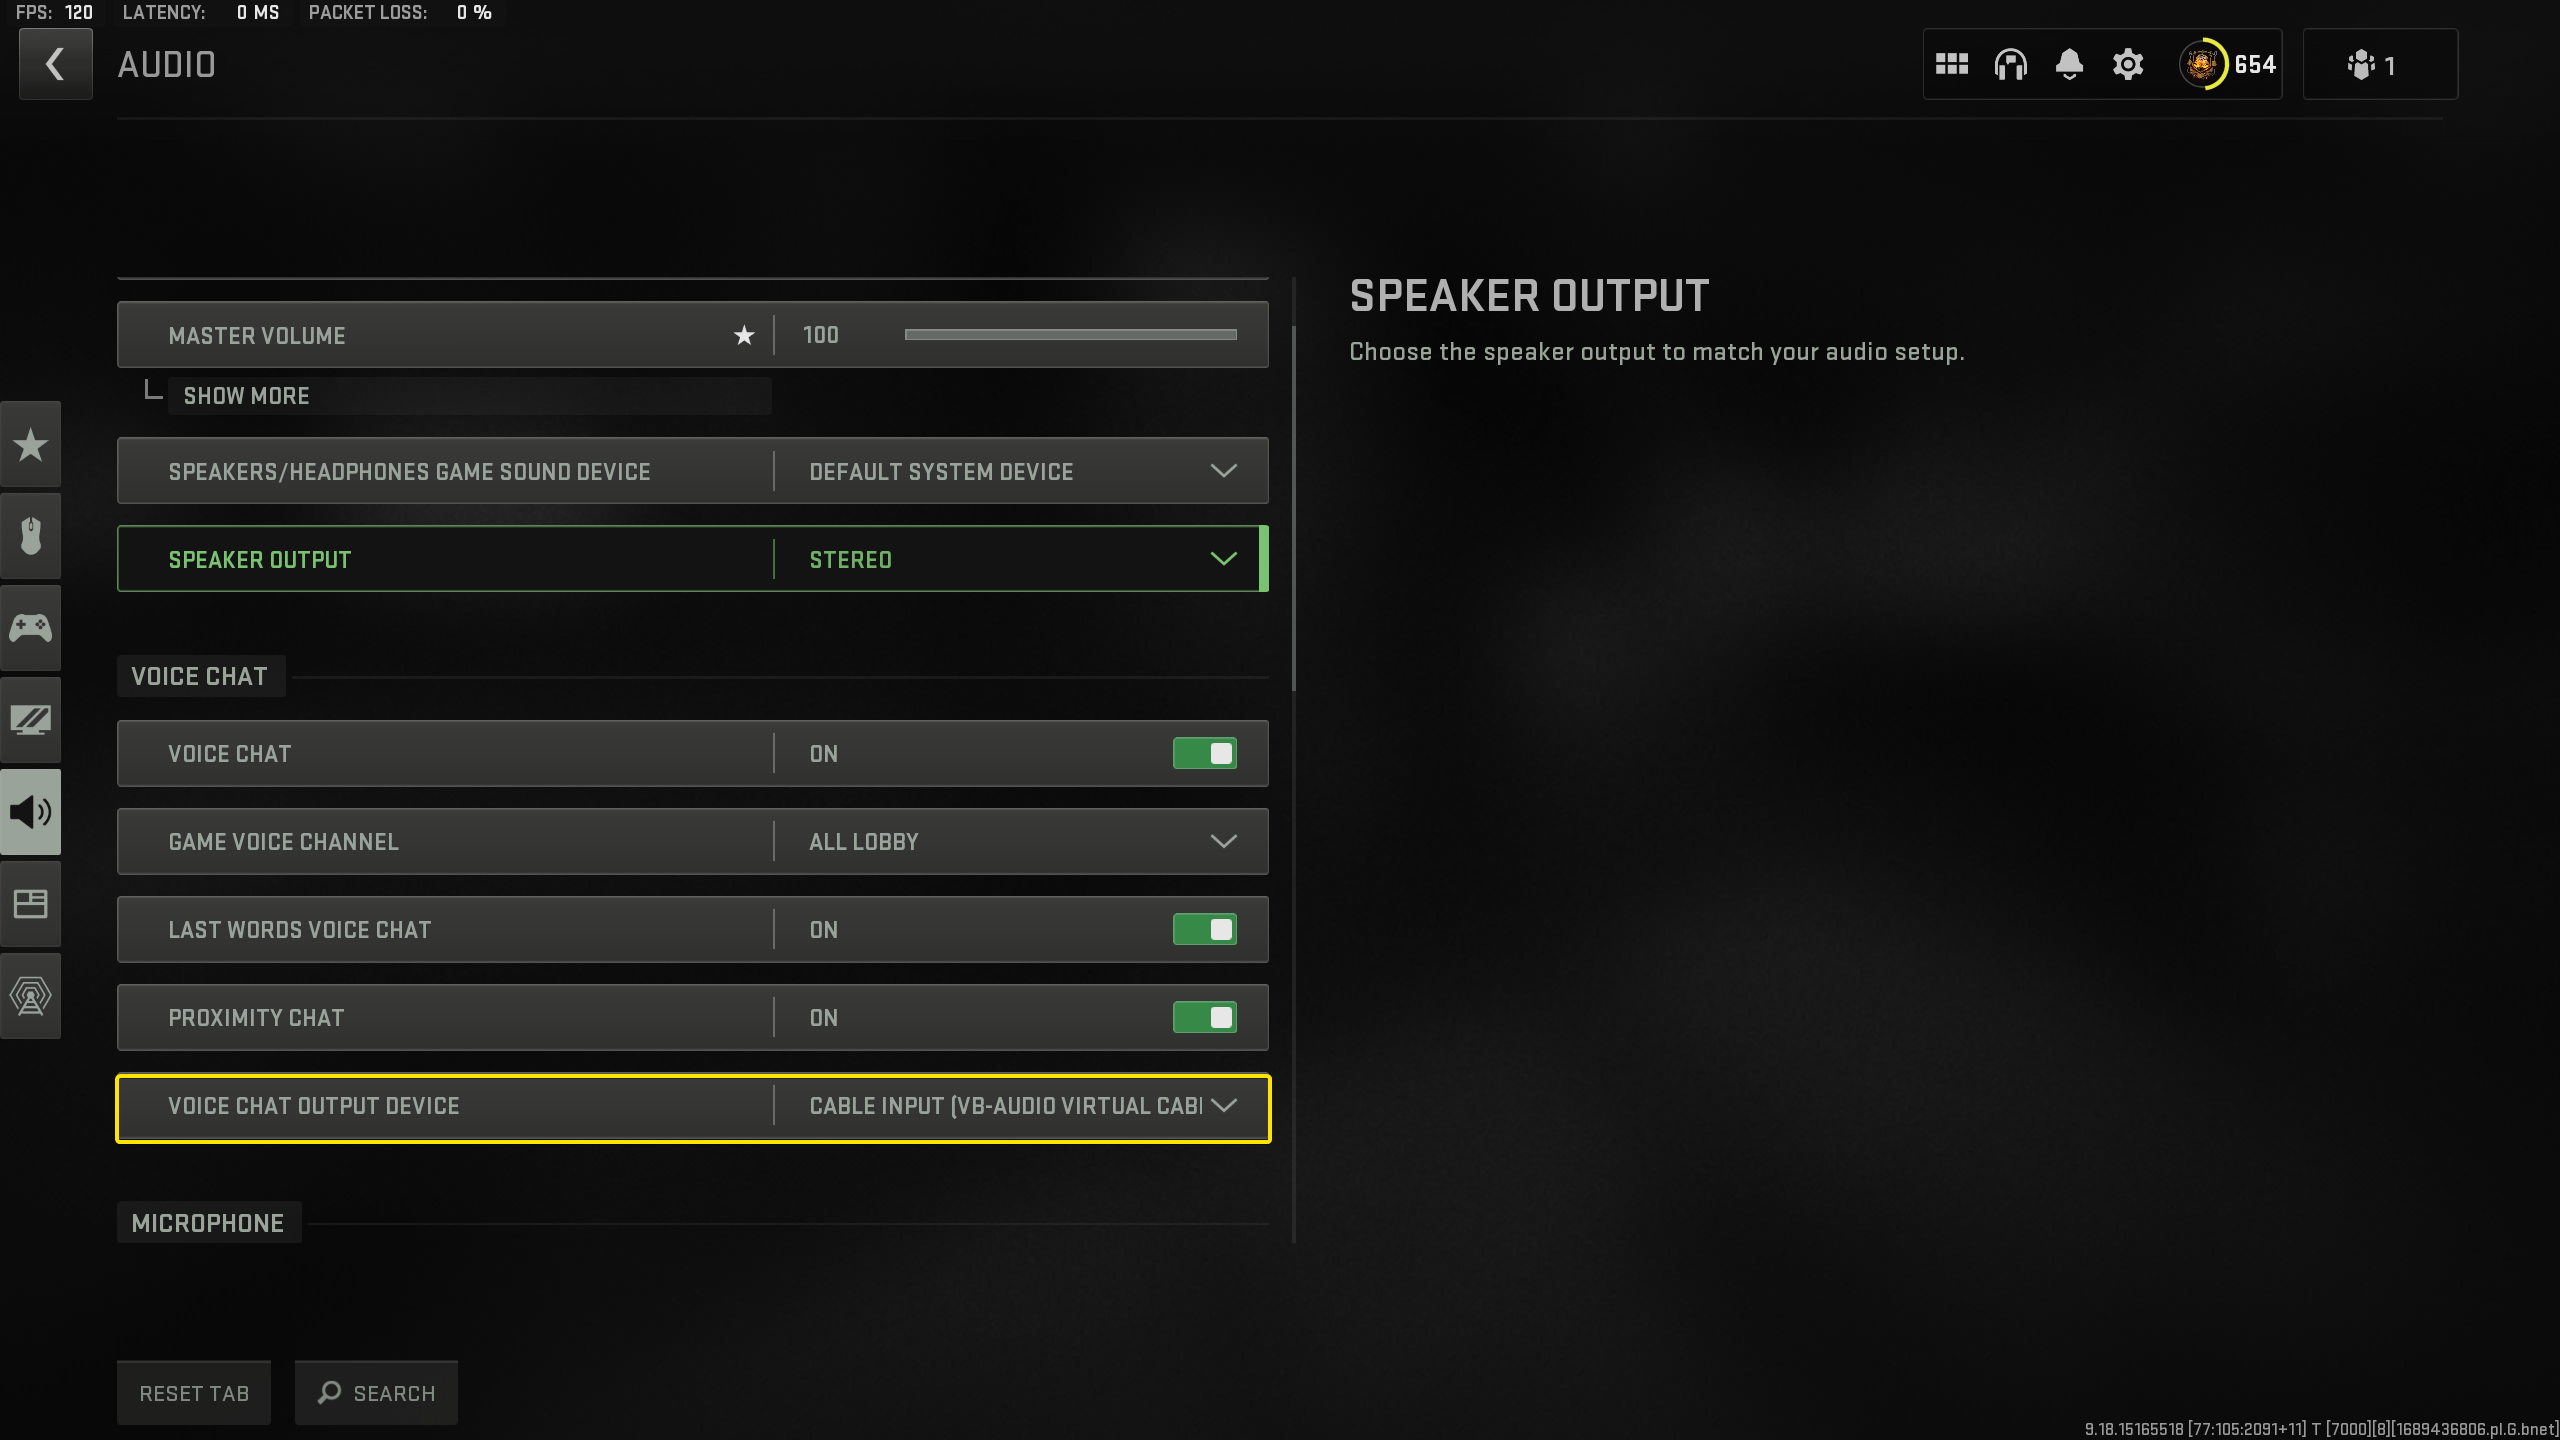
|
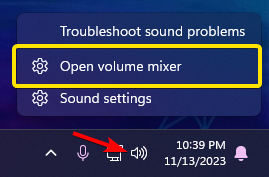
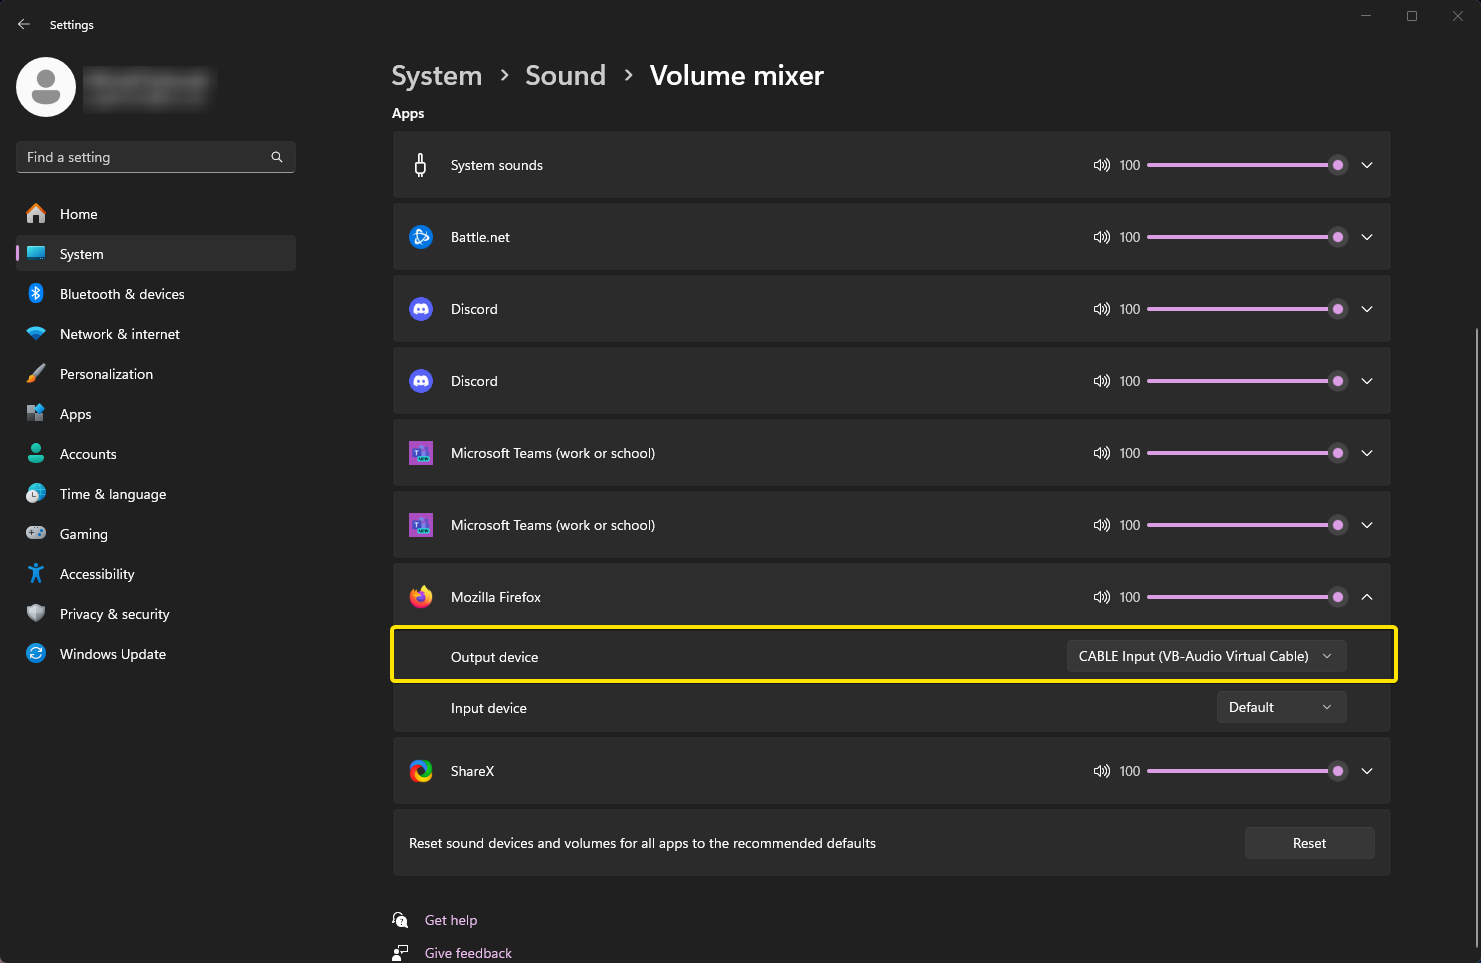
7a. Alternatively, you can assign any application to output audio to VB-cable in the Windows Volume Mixer |
|