macOS Desktop Audio Capture Guide
Capture audio on macOS 13 and higher
OBS Studio 30 and later
When using OBS Studio 30 on macOS 13 (Ventura) and higher, you can use the new macOS Audio Capture Source. You can choose to capture all desktop audio or just a certain application.
The macOS Screen Capture Source also captures audio, described in the next section.
OBS Studio 28 and 29
When using OBS Studio 28 and 29 on macOS 13 (Ventura) and higher, you can capture desktop audio or just the audio coming from a single application.
The audio will automatically be added to the audio mixer. If the source is hidden, the audio will be removed.
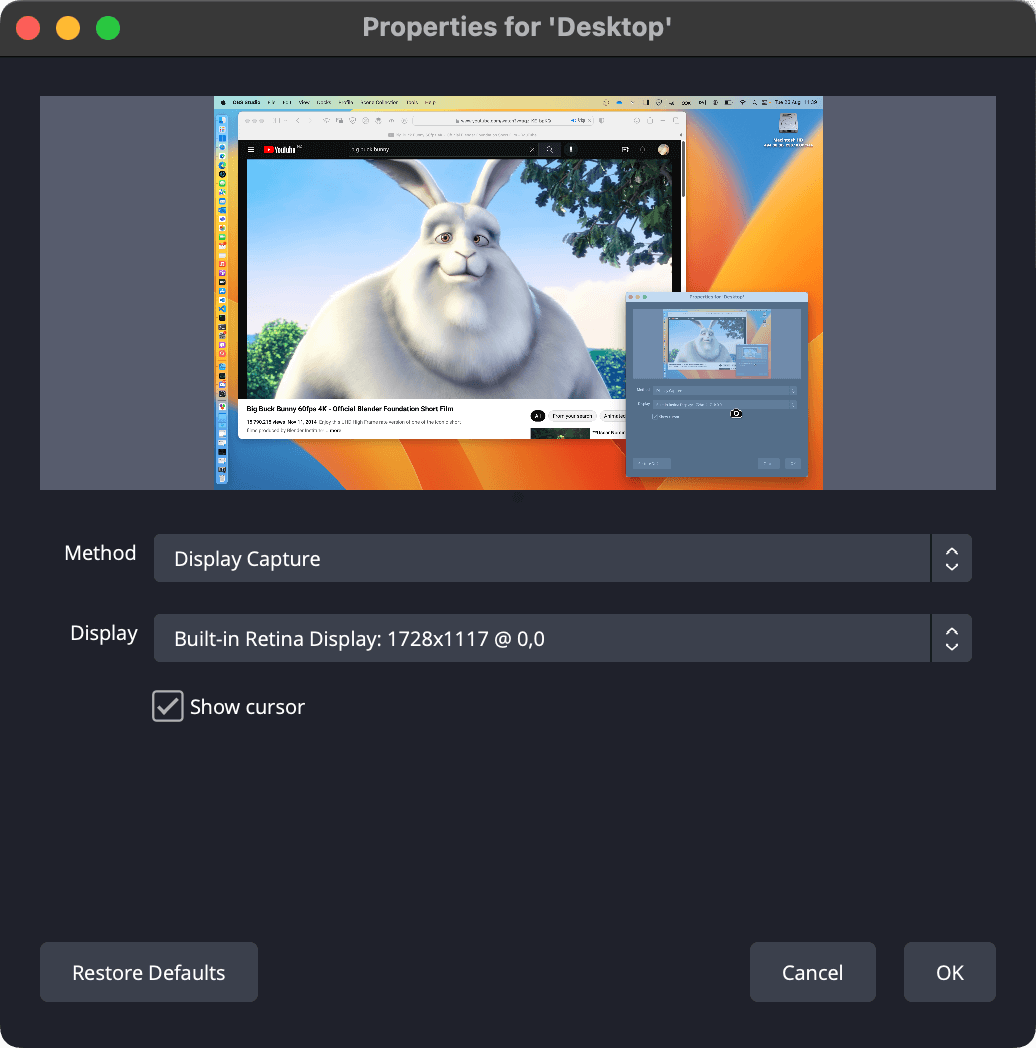
1. Add a macOS Screen Capture Source (not the deprecated Window and Display Sources). |
|
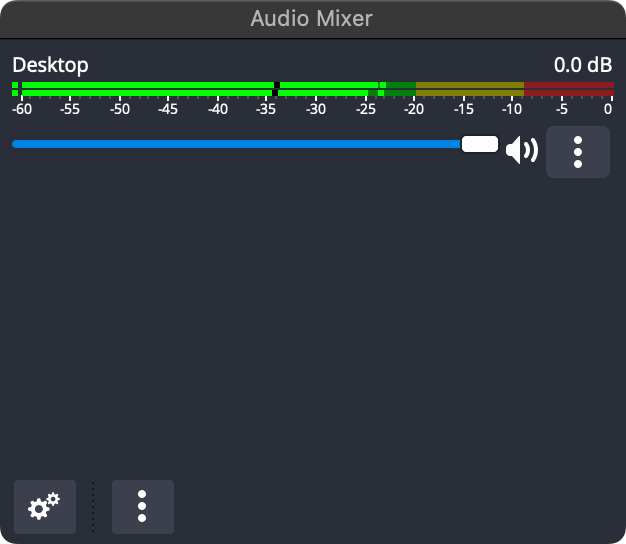
2. The Source will appear in the Audio Mixer Dock. |
|
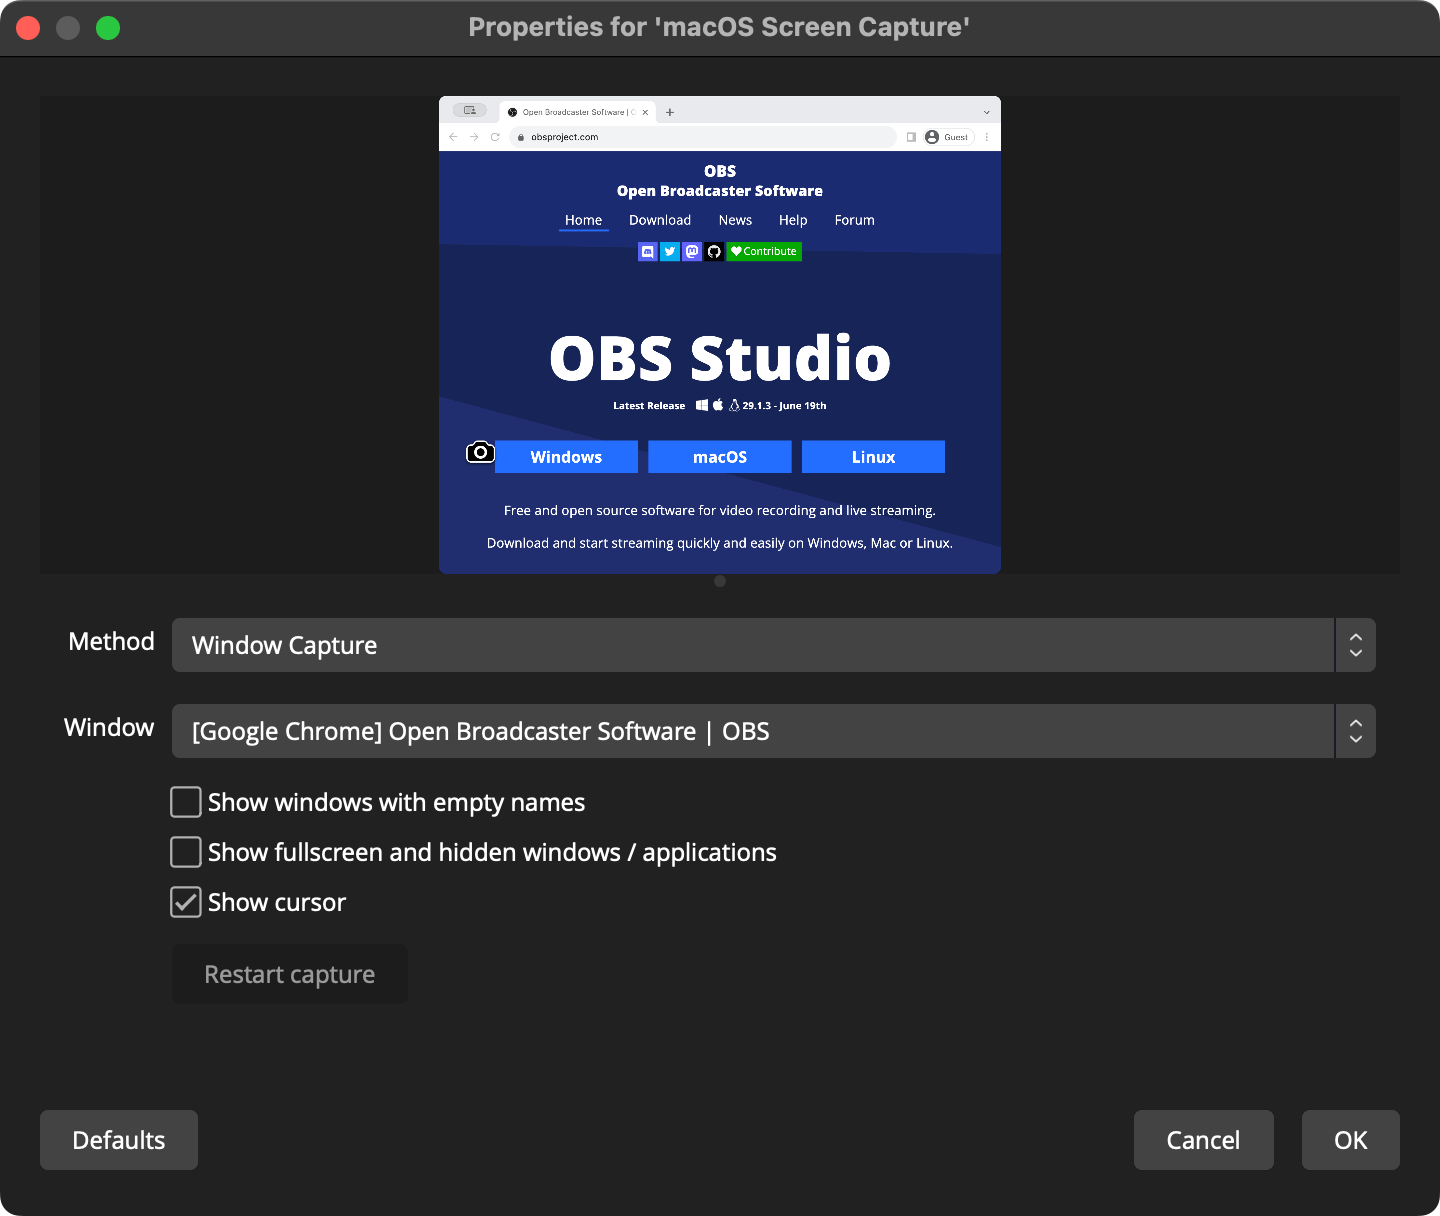
3. To capture only audio from a single application or window, switch the mode to Application Capture or Window Capture. |
|
If you only wish to capture audio, not show any picture, you can either:
- Place the macOS Screen Capture Source behind all other sources, or
- Edit the macOS Screen Capture Source's transformation to set the size to zero width by zero height
Note: you can combine the new macOS Screen Capture Source audio with the other methods below for advanced control over audio.
Capture audio on previous versions of macOS
In order to capture desktop audio on older versions of macOS, you will require additional software. There are many options, including free and non-free software.
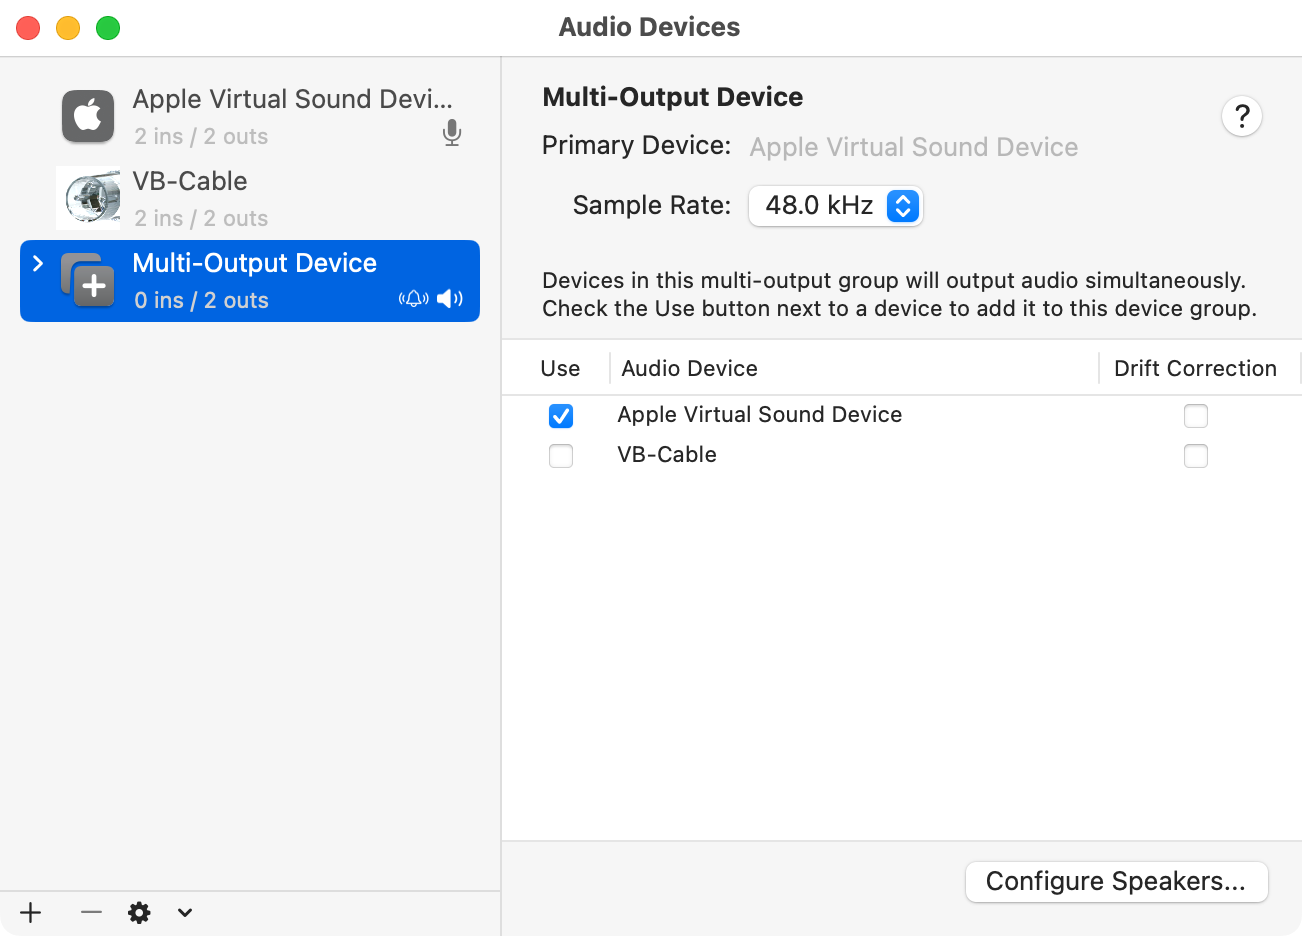
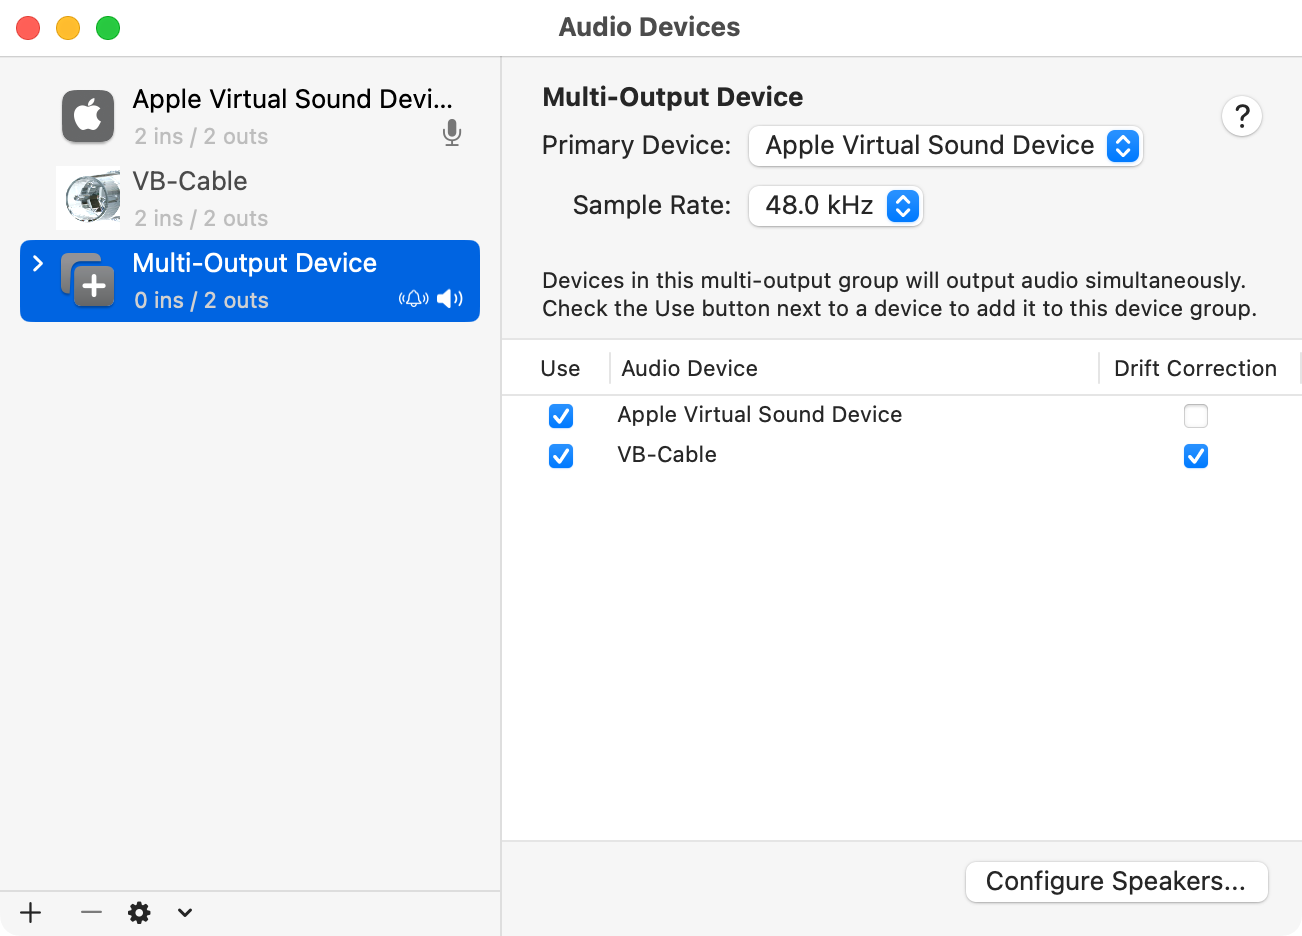
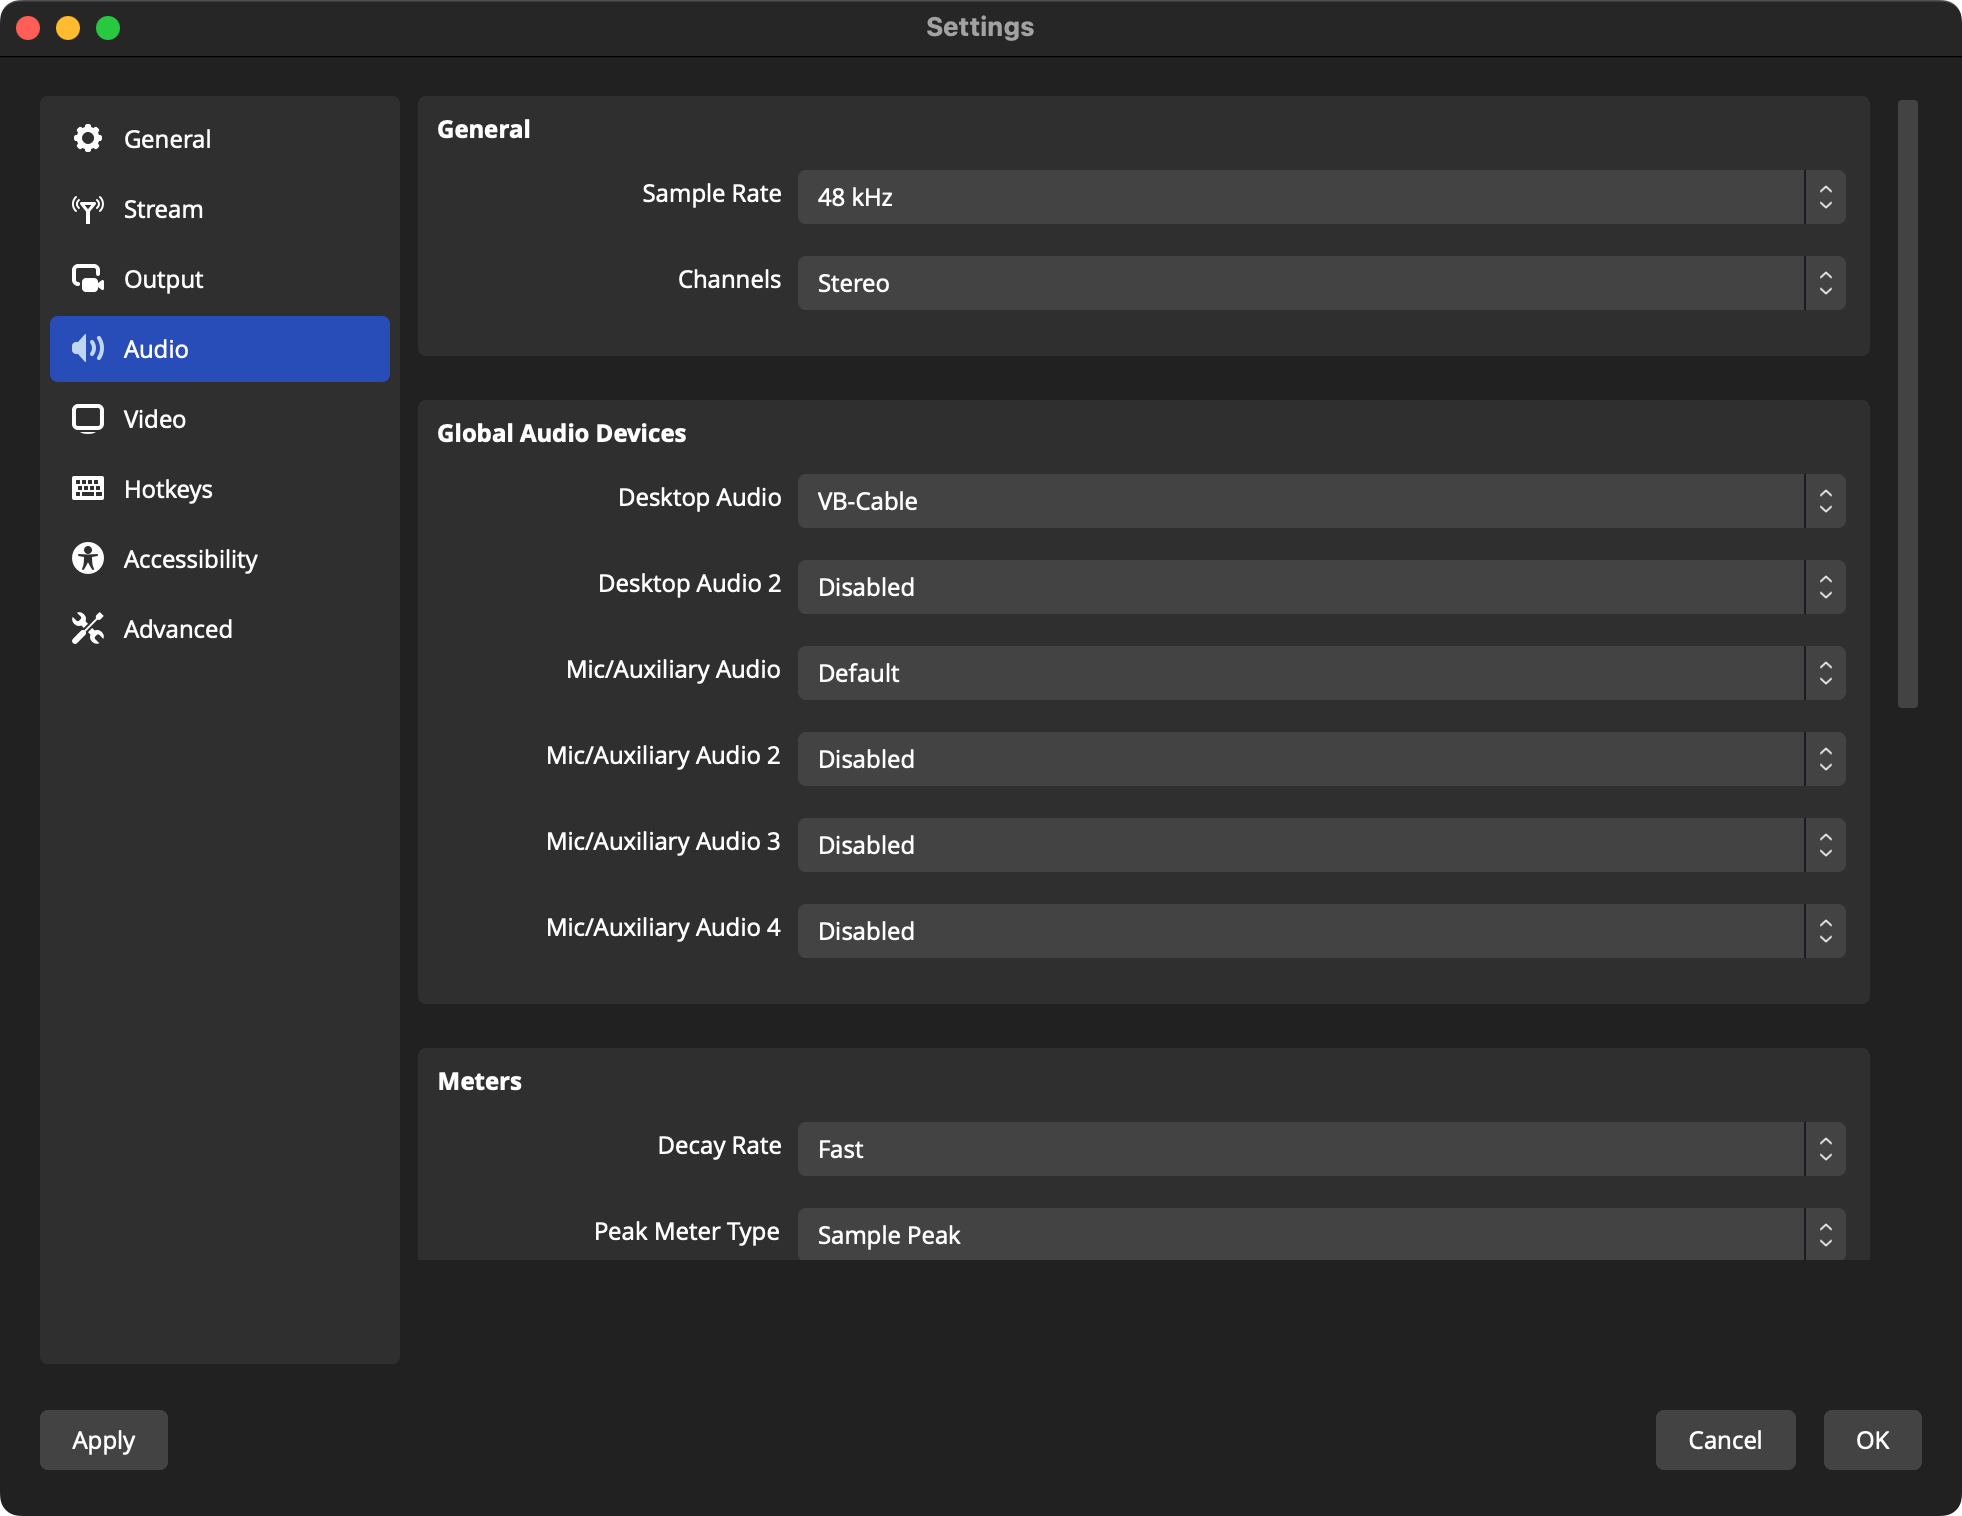
VB-CABLE
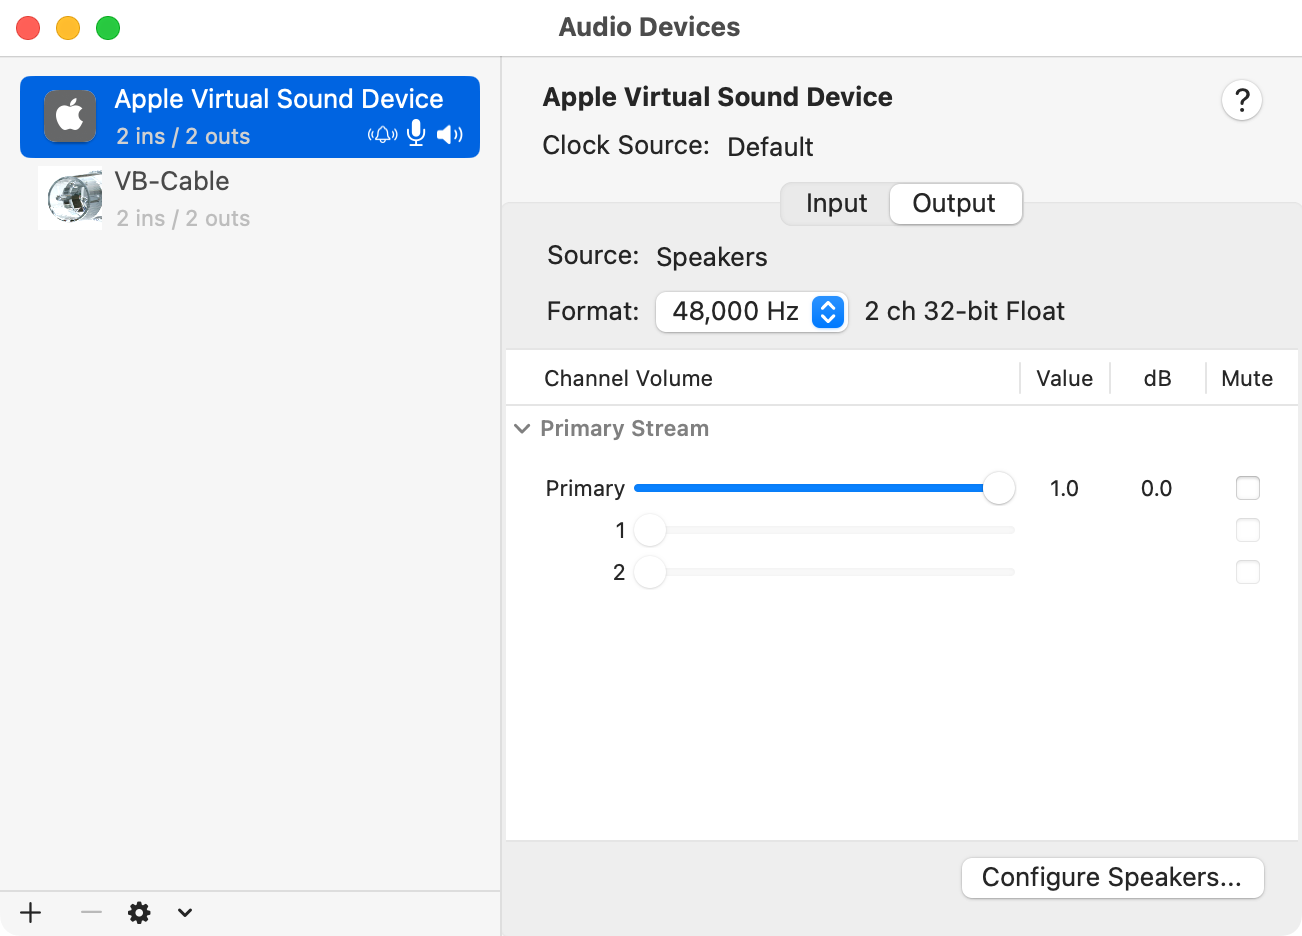
VB-CABLE by VB-Audio can be used to record macOS desktop audio. It must be set up manually does not support per-application audio capture.
|
|
|
|
|
|
|
|
|
|
|
|
|

|
|
|
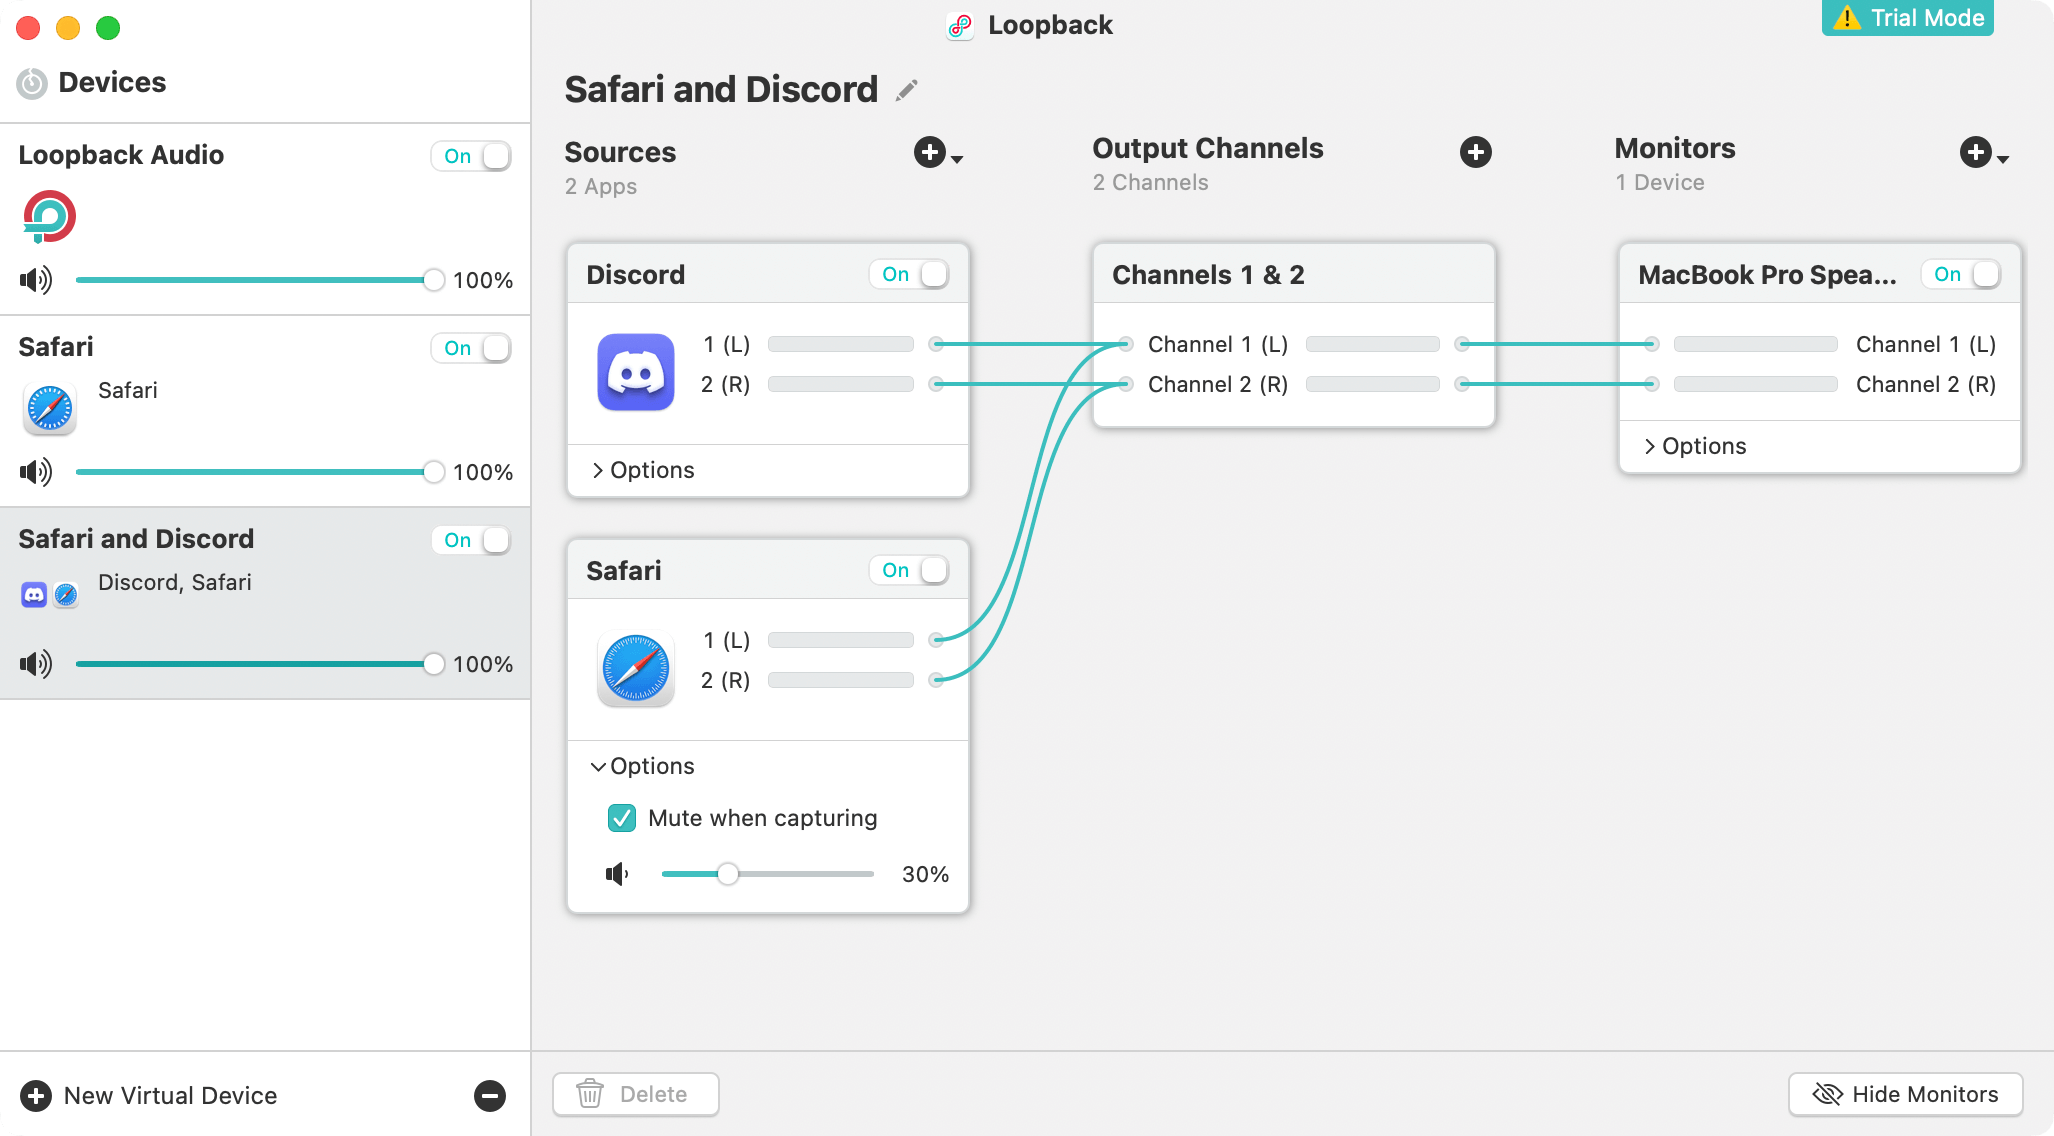
Loopback
Loopback by Rogue Amoeba can be used for hassle-free audio routing, including per-application audio capture. |
|
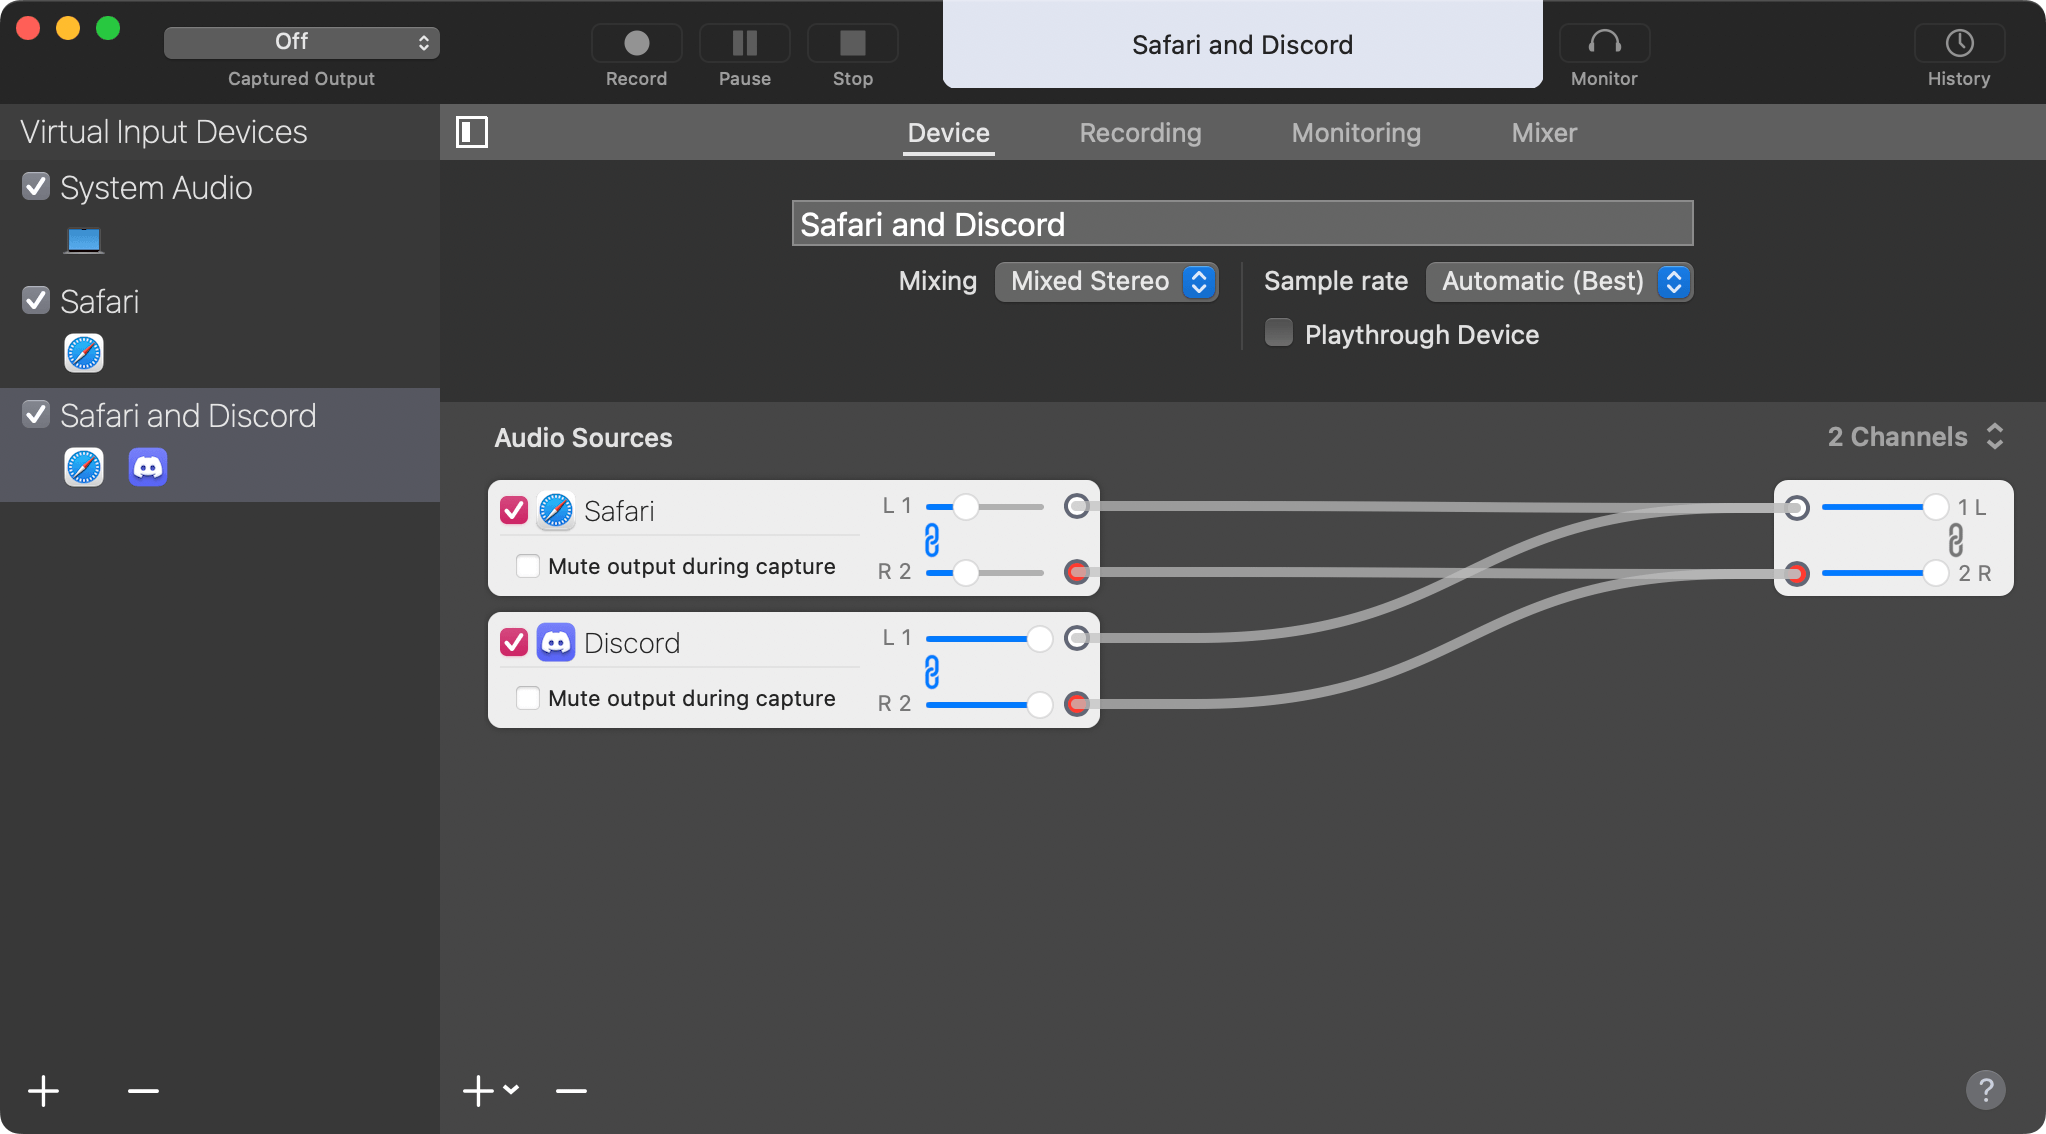
Sound Siphon
Sound Siphon by Static Z Software can be used for hassle-free audio routing, including per-application audio capture. |
|