Standard Recording Output Guide
Table of Contents
While OBS Studio is strong for broadcasting live to the internet, it is also a great tool for being able to record, either at the same time as streaming or solely for offline usage.
Basic Recording Settings
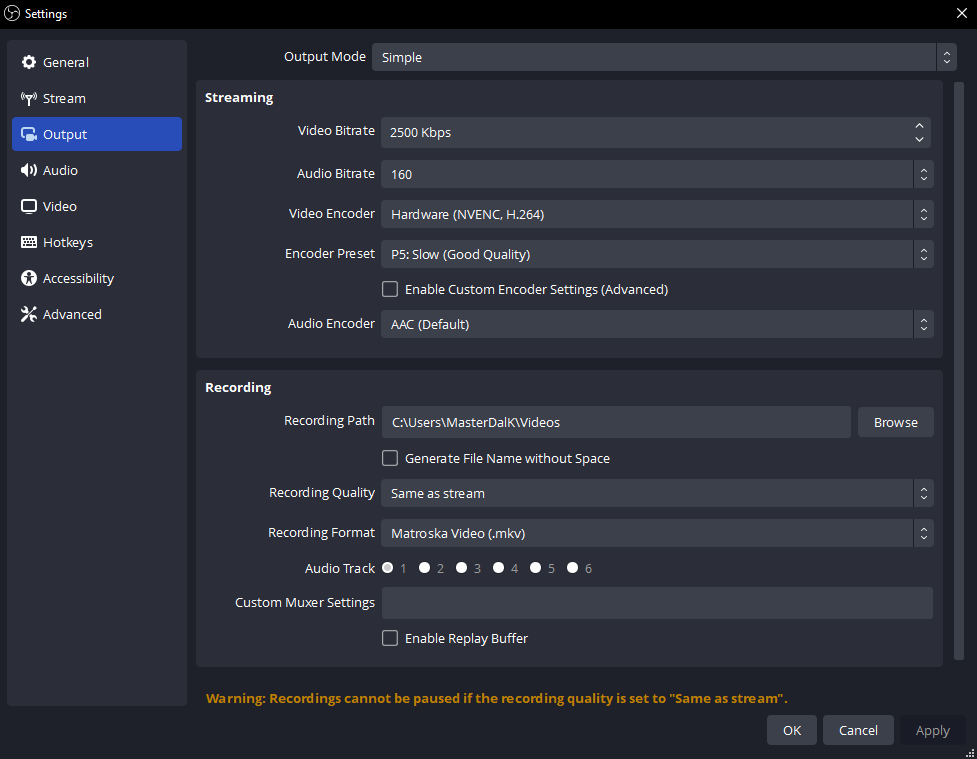
A majority of the settings can be found under the Output tab of the main Settings menu.
Recording Path is where your recordings will go on your computer. If you’d prefer the file names to not have spaces in them, then you can tick off the Generate File Name without Space checkbox.
Recording Format is the file format that your recording will be output in. MKV is recommended in case of unforeseen issues arising, since MKV will not corrupt the whole file if there is no graceful stoppage of recording.
Recording Quality when in Simple view will let you select what quality you’d like your recording to be at, anything that is not Same as stream will take extra resources from your computer.
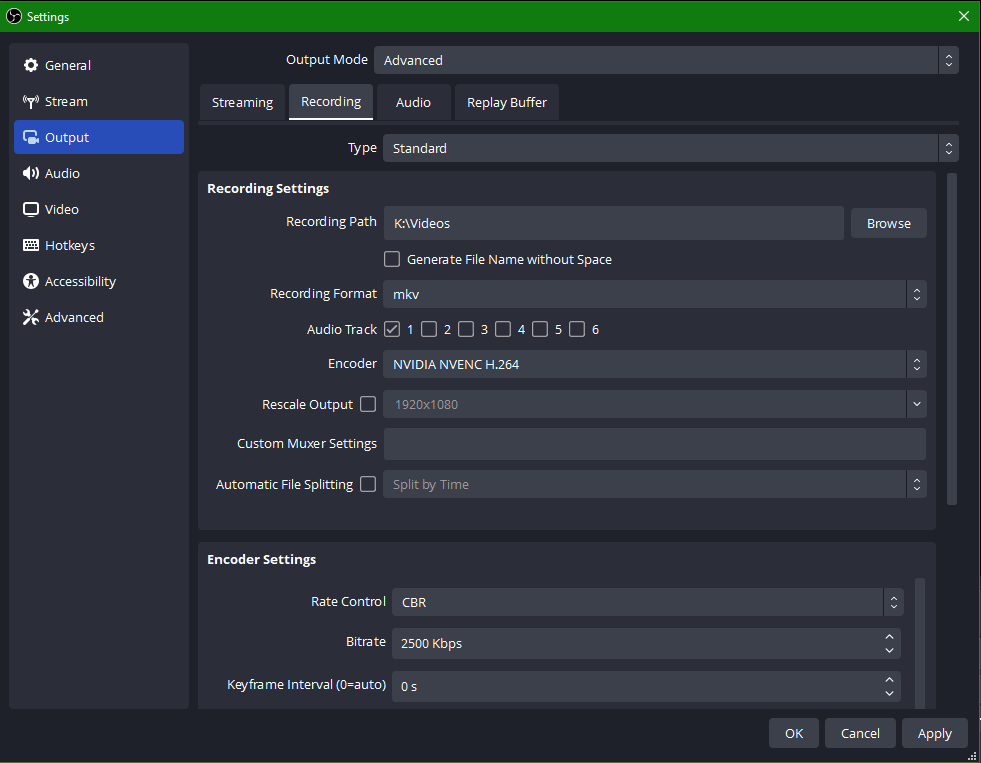
When in the Advanced view you can select which audio tracks you’d like to record which can be helpful if you have, for example, copyrighted music in your stream that you don’t wish to have recorded.
Encoder will let you select the encoder type you’d like to use - like the aforementioned Recording Quality open, anything that is not Same as stream will take extra resources. If you select a separate encoder option, then you’ll be able to set its settings, such as bitrate, quality presets and keyframe interval. You’re also able to rescale the output to have a different resolution, but maintained aspect ratio, relative to your canvas size in OBS. Depending on what the specs of your computer is, you’ll have different options available in the encoder menu to feel free to experiment!
Remuxing
If you record in a file format that is not mp4 and want to convert it to mp4 for easy use in the video editing software of your choice or to make it easier to upload to social media, OBS has that built in for you. If you click on File then select Remux Recordings and press the … button to select which video(es) you’d like to remux. After that hit the Remux button and OBS will convert your videos for you, once completed it’ll provide a prompt saying so.

Advanced Settings
In the Advanced tab of the OBS Settings you can choose what the auto-generated filename for your recordings are. By default it will name your recordings by Year, Month (in numbers) and Date, and then show the time with hours:minutes:seconds. If you hover over the text field while selected, you’ll be able to see the full list of variables available to use in the filenames. You can also select Automatically remux to mp4 if you know you’ll always need your videos remuxed. If selected OBS will remux your video as soon as you stop recording
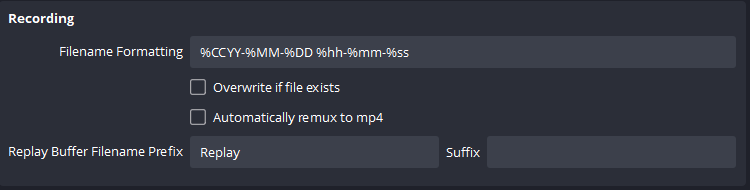
The Replay Buffer filename prefix and suffix are exactly that, a prefix and suffix for the replay buffer auto-generated file. More on Replay Buffers in another article!